DIY Reclaimed Wooden End Table
- Porch & Rose

- Jul 15, 2018
- 2 min read
Updated: Apr 10, 2024

We all have that one piece of furniture that we can't part with. It either has a sentimental value; or you just can't justify the cost of new furniture. No matter the reason, I'm a strong believer of reclaiming any piece of furniture, before buying new. That said, I came across an end table that has been in my family for years! While couches, lamps, and other decor have been replaced, this table has remained untouched and in place, until now.
Since my sofa and chair are only a year old, I examined the color palette of its fabric and decorative pillows to determine what the new color should be for my end table... All I knew is that it should be lighter, and timeless.
And so, with a little help from Martha Stewart Craft Paint, and some new hardware, I was able to transform this piece and give it new life.
Before

What You will Need

(1) 8 Fl. Oz. Martha Stewart Vintage Decor Paint - Ivory
(1) 8 Fl. Oz. Martha Stewart Vintage Decor Wax - Clear

(1) Package of Sandpaper (Fine)
(1) Sandpaper Holder (Optional)
Strip All Hardware

Removing Hardware is simple, and only involves a screwdriver.
Once removed: take some time to determine which type of knob should replace the existing.
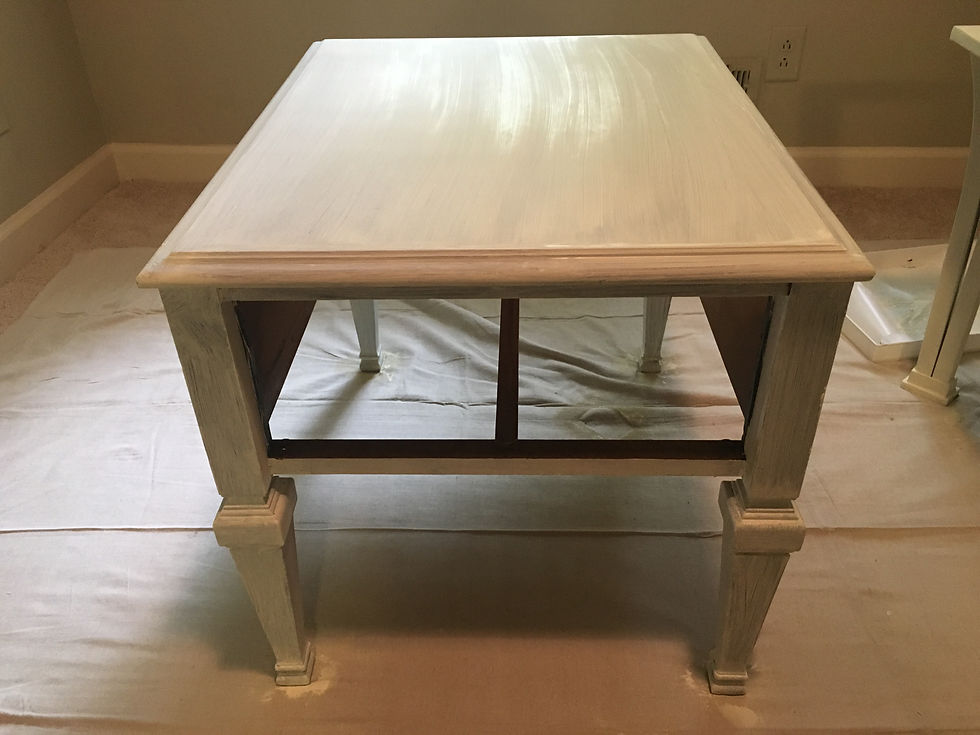
Sand & Prime


Priming only takes a single coat; and you can either use Primer [or] your actual paint color.
When applying the paint color of your choice: It will take 2 - 3 coats.
Sand Again & Wax
This is important for (2) reasons:
1) It allows you to smooth out any clumps of excess paint
2) It gives you the opportunity to expose any edges for that added, rustic look...
Once you've sanded, apply the wax. This will help seal the exposed areas of the paint, and protect the wood from any exposure to liquid or moisture.
It usually takes 24 hours to dry.


Add the Hardware


You're Finished


